So while we were camping in Mexico my friend Jenny was watching our Lily and our home, she's rocks like that.
When we arrived home after the desert off road, high wind, earthquake journey, we found in our fridge a tupperware filled with Zinfandel Braised Pot Roast. It was amazing, delicious, yummy and so welcoming. I asked Jenny to guest blog the recipe so you all could enjoy the nectar that is her Zinfandel Pot Roast. Take the time to cook it and love it, you will not regret it. Thanks to Jenny for sharing
Zinfandel Braised Pot Roast
The world of braising is new to me...as I just started reading "All About Braising" by Molly Stevens. While Sarah and James went camping in Mexico and I watched out for Miss Lily and chilled at their sweet home. Braising my first recipe also marked me making my first pot roast. I also made sure we had a few bites for them to try--the night they came home from the dust and wind of Guadalupe Canyon, MX. And here is the second round of braised pot roast. You will need a large dutch oven for this size roast, we used a 7-quart.
Pot Roast Ingredients:
1-5 1/2 to 6 pound boneless beef chuck roast
(preferably top blade roast)
Coarse salt and freshly ground pepper
1/2 lb. chopped bacon or 3-4 Tbsp. extra virgin olive oil
1 large yellow onion, coursely chopped
2-3 medium carrots, coursely chopped
2 celery stalks, coursely chopped
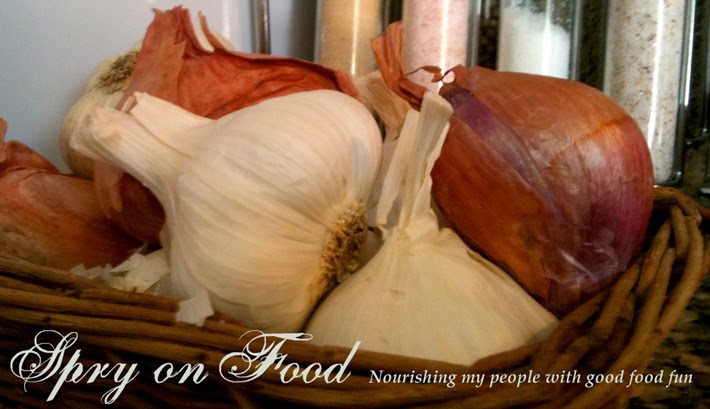
4 garlic cloves, peeled and smashed
1 1/2 cups Zinfandel wine
1 cup beef, veal, or chicken stock
3-sage sprigs, large 3-4 inches
2-3 flat-leaf parsley sprigs, 6-8 inches
8-10 black peppercorns
Parchment paper
Glazed Carrots Ingredients:
2 1/2 to 3-pound medium carrots
2 Tbsp. chopped fresh sage
2 Tbsp. chopped fresh flat-leaf parsley
1 Tbsp. red wine vinegar
Pinch of sugar
1 Tbsp. extra virgin olive oil
1 Tbsp. Unsalted Butter
Coarse salt and freshly ground pepper
Start by tempering the pot roast meat-let it sit out of the frig for an hour or so.
Tie meat using kitchen string then season with salt and pepper.
Miss Sarah just tied that roast up so fast--the technique still escapes me
but the author Molly says there is a method, I just haven't quite figured it out.
The goal is to prevent the roast from falling apart while it is cooking--as it braises for 3 hours.
I recommend 3-4 ties around the widest part of the meat and 2 ties wrapped around the length of the brisket.
Heat oven to 300 degrees.
Cook bacon in dutch oven-then remove from pot, set aside.
Brown meat in bacon grease over medium heat, making sure all sides are browned.
Meanwhile-chop celery, carrot, and yellow onion for the aromatics. Peel and smash the garlic--
(Sarah and I always use more garlic than the recipe says--we like it! Above amount is doubled already ;*)
Remove the brisket and set aside on a large plate that will collect any juices the meat releases.
If there are any charred bits of meat remove them with a damp paper towel.
The crusty good nuggets of drippings are the beginning of a delicious braising liquid, so leave those be.
Now it is time to create the braising liquid.
Turn the heat up a bit to medium-high. Add garlic, onion, celery, and carrots to the pot and season lightly with salt and pepper.
Let the vegetables cook until lightly browned and add the wine.
With a wooden spoon scrape the goodies of carmelized beef off the bottom of the pot. Bring this liquid to a boil then let it reduce by half, about 6 minutes.
Add beef stock, return to a boil and let it reduce about one third-approx. 5 minutes more.
Let the braising begin--
Return the meat to the pot with the bacon, sage, parsley, and peppercorns.
Cover with a piece of parchment paper, pressing down so that is almost touches the meat. The edges of the paper should hang over the edge about an inch.
Set the lid in place.
Transfer the pot to the lower third of the oven-let braise for 10-15 minutes--check the braise liquid at this point.
Make sure the liquid isn't simmering too vigorously. If it is lower the oven heat by 10-15 degrees.
Halfway through the braise turn the pot roast.
Now you have plenty of time on your hands; pop in a good movie and pour a glass of that lovely zinfandel you are braising with. We like to play this dice game called 10,000--
Prep your carrots while the pot roast cooks. I like the idea of nice long pieces but you can cut coins or chop pieces too. Chop the sage and parsley at this time.
At the 3 hour mark, check the pot roast for tenderness. It should literally be falling apart. Remove the roast and set aside on a platter, cover loosely.
Strain the cooking liquid--pressing down to extract as much juices as possible.
Discard the aromatics and pour into a medium saucepan.
Once the liquid settles, skim off any fat that pools.
Measure out a half cup for the carrots and set aside.
Heat butter and oil in a large skillet over med-high heat. Add carrots when the pan is nice and hot.
Season with salt and pepper--shaking and stirring to brown the carrots.
Once carrots start to brown a bit, add the braising liquid. Cover partially and reduce heat to medium.
Cook for 6-8 minutes. Uncover--bring it back to a boil. Add vinegar, sage, sugar, and parsley.
Cook until liquid is reduced to a glaze. Taste for salt and pepper.
Heat the braising liquid over a medium-high heat. Boil for 1-2 minutes to concentrate the flavor.
Taste and if needed add a dash of salt and pepper. This is a luscious sauce--it has been simmering for 3 hours. The concentration of flavors is intense and layers of love have formed.
Cut the strings off the pot roast and cut in slices. Serve on a large platter. Carrots are our side dish. This time we paired it w/ Sarah's yummy Butter-Parsley Tators--but you could serve mashed tators or tators au gratin.
So ya'll--This was a pretty neat experience...I have so much respect for Sarah for doing this blogging thang way more than I--she rocks the food party for sure and we love that..thanks for checking out the blog--try braising it is complex with steps but so rewarding.